Showing posts with label decor. Show all posts

Sunday, May 20, 2012

DIY: Corks-Cork Board

Recently it seems our fridge has turned into a paper catcher for grocery lists, business cards, coupons, schedules, etc.  You name it, it's probably on our refrigerator, and the moment you open the door...down goes the papers!  I finally decided it was time to clear this baby up.  

I had pulled out an old cork board but that seemed to plain, so after searching the craft room I found three bags of corks I had purchased at a local craft thrift store.
 They were so cheap and I knew eventually I would find the perfect project for them.
I pulled together supplies from around my house; an old board I had been using in the pantry, a bottle of wood glue from the garage and I a nice sharp knife to cut to corks in half...
 Important Note: Real corks are VERY hard to cut through.  If I had to do it over again I would purchase a cutting tool from a hardware store.  Synthetic corks do cut very easily, however they do not look as nice as real corks.
 Here are the easy instructions:

1. Cut all your corks in half, this is the hardest part...

2.  Decide on the pattern you want to use on your board.  Lay the pattern out to be sure you have enough corks to cover the space and your design will work.
3.  Once you have your design, measure the center and make a tiny mark.  
 4.  Put a small amount of glue on the back of each cork and place it onto your board.  You will need to push down hard and hold for a minute to be sure the cork half's adhere to the board.
5.  When all your corks have been glued down place a flat heavy object, like a book, on top of the corks and let dry for 24 hours.
5.  Drill your board into the wall and viola, instant cork board!
I love love LOVE how the alternating design on my board turned out...
And how does it work....
Beautifully!  The corks hold nice and tight, it has become quite the conversation piece and is a great addition to our growing family command center.  Since I had everything on hand, this "Cork" board was F-R-E-E!!!  I may just need to make another one for my craft room.

Happy Crafting!

DIY: Easy Vase Makeover

Since our living room color scheme is changing to red and teal, I wanted to add some pops of color.  To save money I decided to head to good will and pick up a few new vases.  I found two that I knew would fit perfectly and with the .25 cent price tag I couldn't beat it.   I rounded out the group with a third vase I had on hand.   
 I picked up a few bottles of acrylic craft paint in teal from Joann's and I used a bottle of red I had on hand.
 The process was very easy (I apologize I didn't get process pics).

Step 1. Clean and dry the vases

Step 2.  Squeeze 3/4 of the bottle of paint into the vase and add about a tablespoon of water to thin it out.

Step 3.  Swirl the paint around in the vase to cover the inside, if the paint is still thick add a small amount of water to continue to thin it out.

Step 4.  Once the paint has covered the vase up to the neck, turn the vase open side down onto a thick rag and allow the excess paint to drain out.  As the paint drains it will cover the inside of the vase to the top.

Step 5.  After about 30 minutes turn the vase over and allow it to dry for 2-3 days.
I love the way they turned out!  In total the three vases cost $1.75, not bad for quick and easy decorations.

Happy Painting!

Friday, May 4, 2012

Fab Refurb: Bedroom Dresser - Progress update 1

I have to apologize, I keep forgetting to take pictures during the day, so these are a little dark.  I promise the next set will be better :).

The primer is all dry and so I was able to lay down the first coat of paint.  I decided to use Rust-Oleum Heirloom White paint.  After the first coat the dresser was looking beautiful...
I adore those drawer fronts...
The bottom drawers were looking good...
The back detailing is beautiful...

After the first coat I sanded the entire piece down with 220 sand paper to get all the little bumps out, then came a light cleaning to remove all the sanding dust.  I decided to do another coat today and the finished product looks AMAZING!  Tomorrow I hope to add the clear coat and move this baby in to her new home!  Now on to find drawer pulls.

Blessings!

Thursday, May 3, 2012

DIY: Makeup Board

In our rental home we have one full bathroom, unfortunately the vanity is not very large (sorry for the yellow picture).  With daddy, mommy and baby plus overnight guests using this same space storage is a  huge issue....
In an effort to free up some space I decided to make a magnet board for my makeup.  After house hunting I found an old unused cookie sheet and some left over white spray paint.  It only took one good coat to cover the back side (sorry I only have the before)... 
Next I purchased some tiny heavy duty magnets for $2 a package at Joann's.  I pulled out my trusty glue gun and my already sorted make up and I was ready to get to glueing...
 I glued  a magnet to the back of each piece...
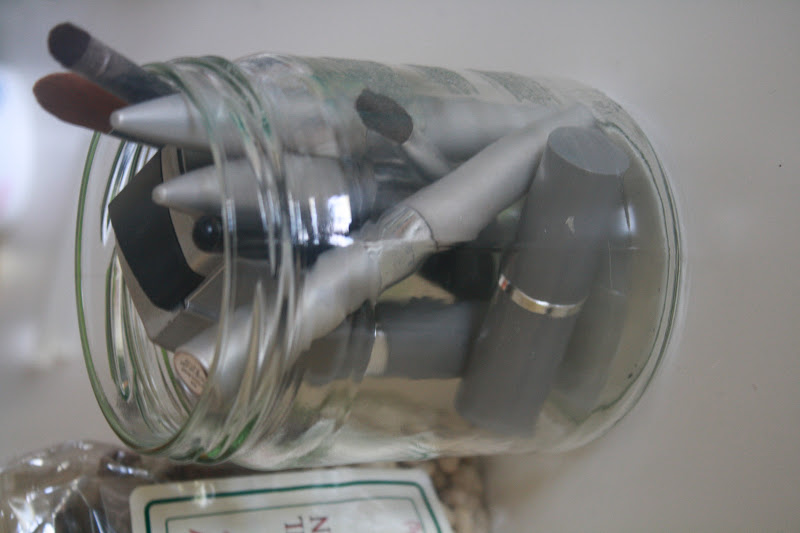
While the glue dried I decided to put lip sticks and brushes in a jar I already owned, but when I looked at it on the counter it just looked disorganized and U-G-L-Y!
So to the pantry I went!  I have seen several people use coffee beans, but around here those are a precious commodity, not to mention I wanted something lighter.  It only took a moment for me to spot some soup mix that, I'm sad to say, I have had for a LLLOOOONNNGGG time.  I knew the beans would be the perfect color in the bathroom (okay did that sound really funny to anyone else :))...

 After pouring the beans in the jar I added the brushed and lipstick back in and viola!  Much better...
The pan just ended up being the perfect size to squeeze inbetween the counter molding and the medicine cabinet, that's right that baby is just snuggly shoved in there with no screws or adhesive, go figure...
The white was just to plain so I decided to mod podge scrapbook paper over the top.  I used paper I had on hand and it was a perfect match for the bathroom.  I also made some little labels using stickers... 
I absolutely LOVE my makeup board!  It is easy access, out of the reach of little hands and free's up some much needed cabinet space.  Oh and the jar of beans ended up being a great addition...
 So what do you think, I would love to hear how you solve storage issues in your house.

Blessings!

UPDATE: You will need to use 2 magnets on the back of larger pieces like Bare Minerals containers.  

DIY: Menu Board

I confess I am one of those crazy menu planners and weekly I try to get my menu's up on the blog (that is when we are not dealing with the plague of sickness!).  Since I have a terrible memory I decided I needed a menu board in our kitchen.  If this were not a rental we would already have a chalkboard painted on the end of one of the cabinets, but since that is not an option I decided to make a hanging one.  

First task was to find something in the house I could use instead of purchasing something new.  I found a great piece of wood on one of the pantry shelves.  Since the pantry/coat closet (yes it is both, more on that another time) is getting a make over I knew I wouldn't be using it...
 So out to the garage this cute little board went.  Using some chalkboard spray paint I had I hand, I sprayed down one side.  I gave the board 2 heavy coats, allowing a day in between each coat.
After spraying the board I drilled two tiny holes at the top for a ribbon and viola!
Isn't it cute!  I am really surprised how easy this project was.  It is so much fun changing out the decor on the board weekly.  It is a nice addition to the kitchen (so sorry for the terrible lighting, forgot to get a daytime picture)...
Eventually I am hoping for a family command center in this area, but for now this is a much needed improvement.

Blessings!

Wednesday, May 2, 2012

Fab Refurb: Bedroom Dresser

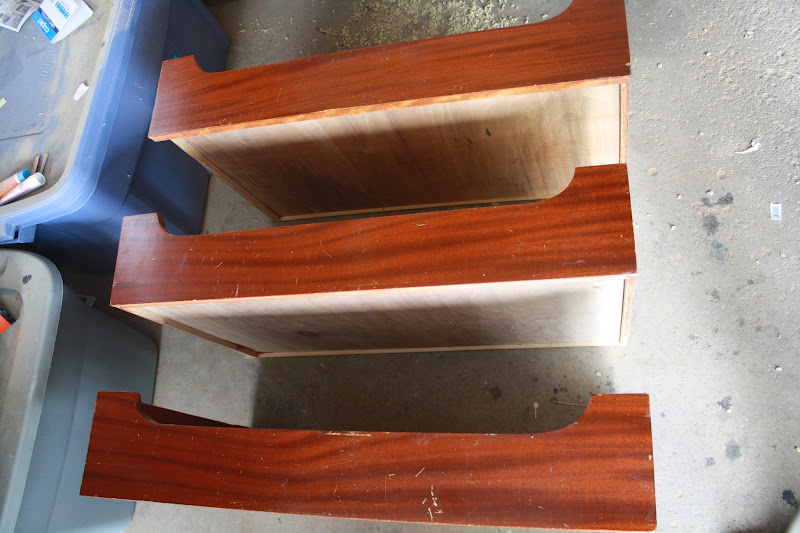
I am SO excited to share this refurb with you!  Since moving to NY we have been on the hunt for a dresser to go along with our vintage romantic inspired master bedroom.  I have been checking second hand stores and craigslist, but with a budget of only $50 it has not been easy.  Well while I was sick and stalking craigslist to pass the time, I spotted this baby for just $40 (yes it does have drawers, I took them out before I took the picture)...
I was beside myself when I got the email that I was the first one!  So helpful hubby headed out to pick it up for me.  He checked over the piece to make sure it was just cosmetic issues and hauled it home.  Once I was healthy enough I began the refurb with a good cleaning... 
I always wonder what a piece of furniture has seen in it's lifetime and I'm guessing this one has seen ALOT!  The doors were the worst, but it really just looked like a staining gone bad.  The top had water damage but just on the surface, nothing a good cleaning couldn't take care of...
The exterior drawers have been stripped and stained and stripped again so I decided they needed to be painted as well.  I will be changing the hardware as well, just not a fan of those drawer pulls...
The interior drawers were the nicest part.  I am guessing this is what the original piece looked like.  The jury is still out on whether they will be painted or not.  I just love the rich tones and with some wood conditioner they would sparkle!
Upon further inspection of the interior I found the LAYERS of paint and stian this dresser has seen.  After seeing this it was settled that this piece would be painted...
The legs were in great shape with the exception of a few chips.  Nothing a hammer, screw driver and a little patients couldn't take care of...
After a GOOD cleaning and several days of researching painting furniture I decided to use spray paint this time around.  I started with Rust-Oleum Primer...
After the first coat of primer you could really see the true beauty of this piece and all the little intricate details...
 Even the detail on the drawers could be seen a little better...
I decided to do two coats of primer since I was going from dark to Heirloom White.  I am getting so excited to see this piece finished...that will be a few days no doubt!

Blessings!

Monday, April 30, 2012

DIY: Va-Va-Va-Vase

Since taking down the Easter decor I decided it was time to start on a summer centerpiece for our dining room table.  A friend had told me about a segment on The Chew where Clinton Kelly had made a summer table scape out of hardware supplies.  After watching the segment on the internet I was inspired and decided I needed to start with a vase.  Enter this beautiful bottle I have had in my stash awaiting the perfect project...
 I pulled out two of my FAVORITE craft supplies, Jute and Mod Podge!  I wanted a vase that was functional and earthy so it wouldn't take away from brightly colored summer flowers...
I started by painting mod podge onto a section and began wrapping the jute over the mod podge.  It did take alot of mod podge and I will admit it was a messy project...
But when I was finished it was worth it.  I decided to make a design in the middle and space out the top to show some of the beautiful glass below.  I put the vase by an open window to help it dry...  
Before to long my vase was dry and I love how mod podge dries clear!  It is the perfect summer vase (if it would hurry up and be summer).  I added the only two flowers we had in our front yard, along with two candles I had on hand.  The candle holders are actually plumbing gaskets that I paid $1.50 for at the HD!
I absolutely LOVE the start of my summer centerpiece.  It has a ways to go, but this is a great start and since I had everything on hand, with the exception of the candle holders, I spend a total of $3.15 for everything, not bad!

Blessings!